Blue View – Installing Rivet Nuts
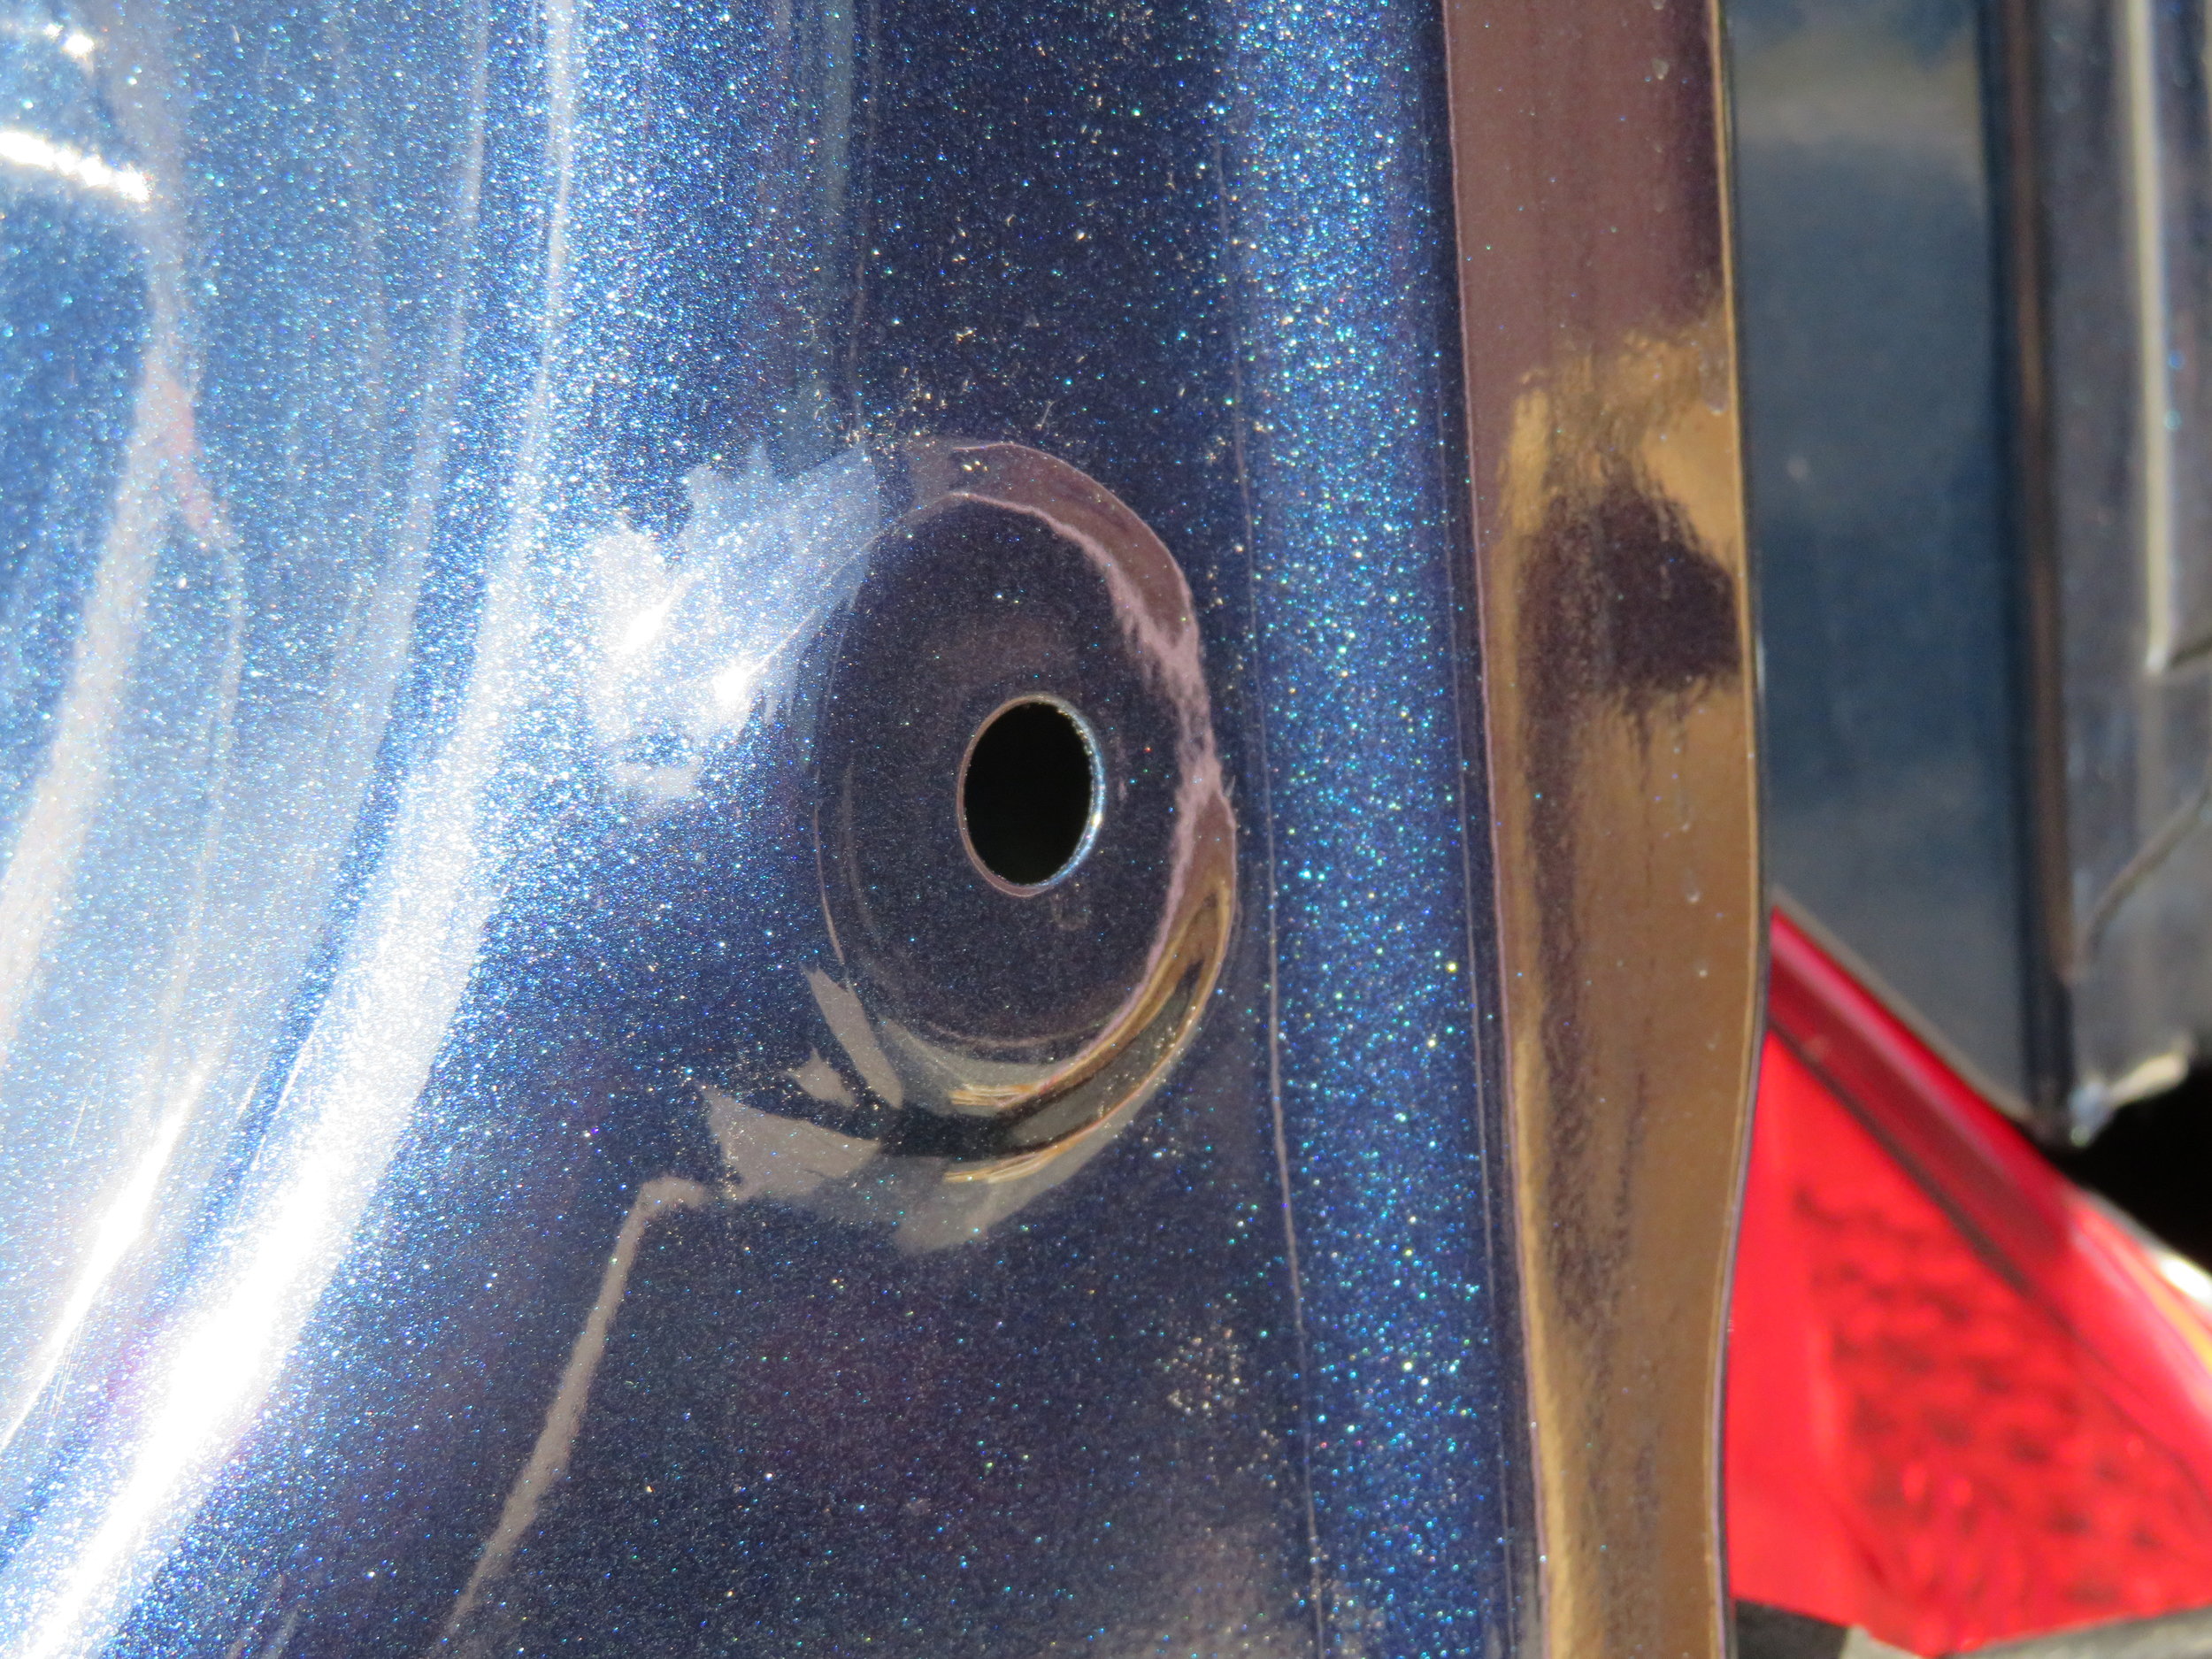
/Rivet nuts are a great invention and are an immense aid in upfitting a van. They are inserted into a hole in the sheet metal of the van, and, using an inexpensive tool, they convert the hole into a captive nut. I used them to attach the ceiling panels to the roof bows, to construct a 'containment' wall to keep everything in its place when we were hauling dozens of bins of stuff from Nine of Cups to Las Vegas, and I'll use a lot more when we begin mounting wall panels, cabinets, and Murphy beds to the interior of Blue.
There are a lot of different types, but my preference is the 'pre-bulbed' type. I had a few learning curve issues with them, but now, after a little practice, I find them easy to install and quite strong.
Pre-bulbed rivet nuts
The tools I use:
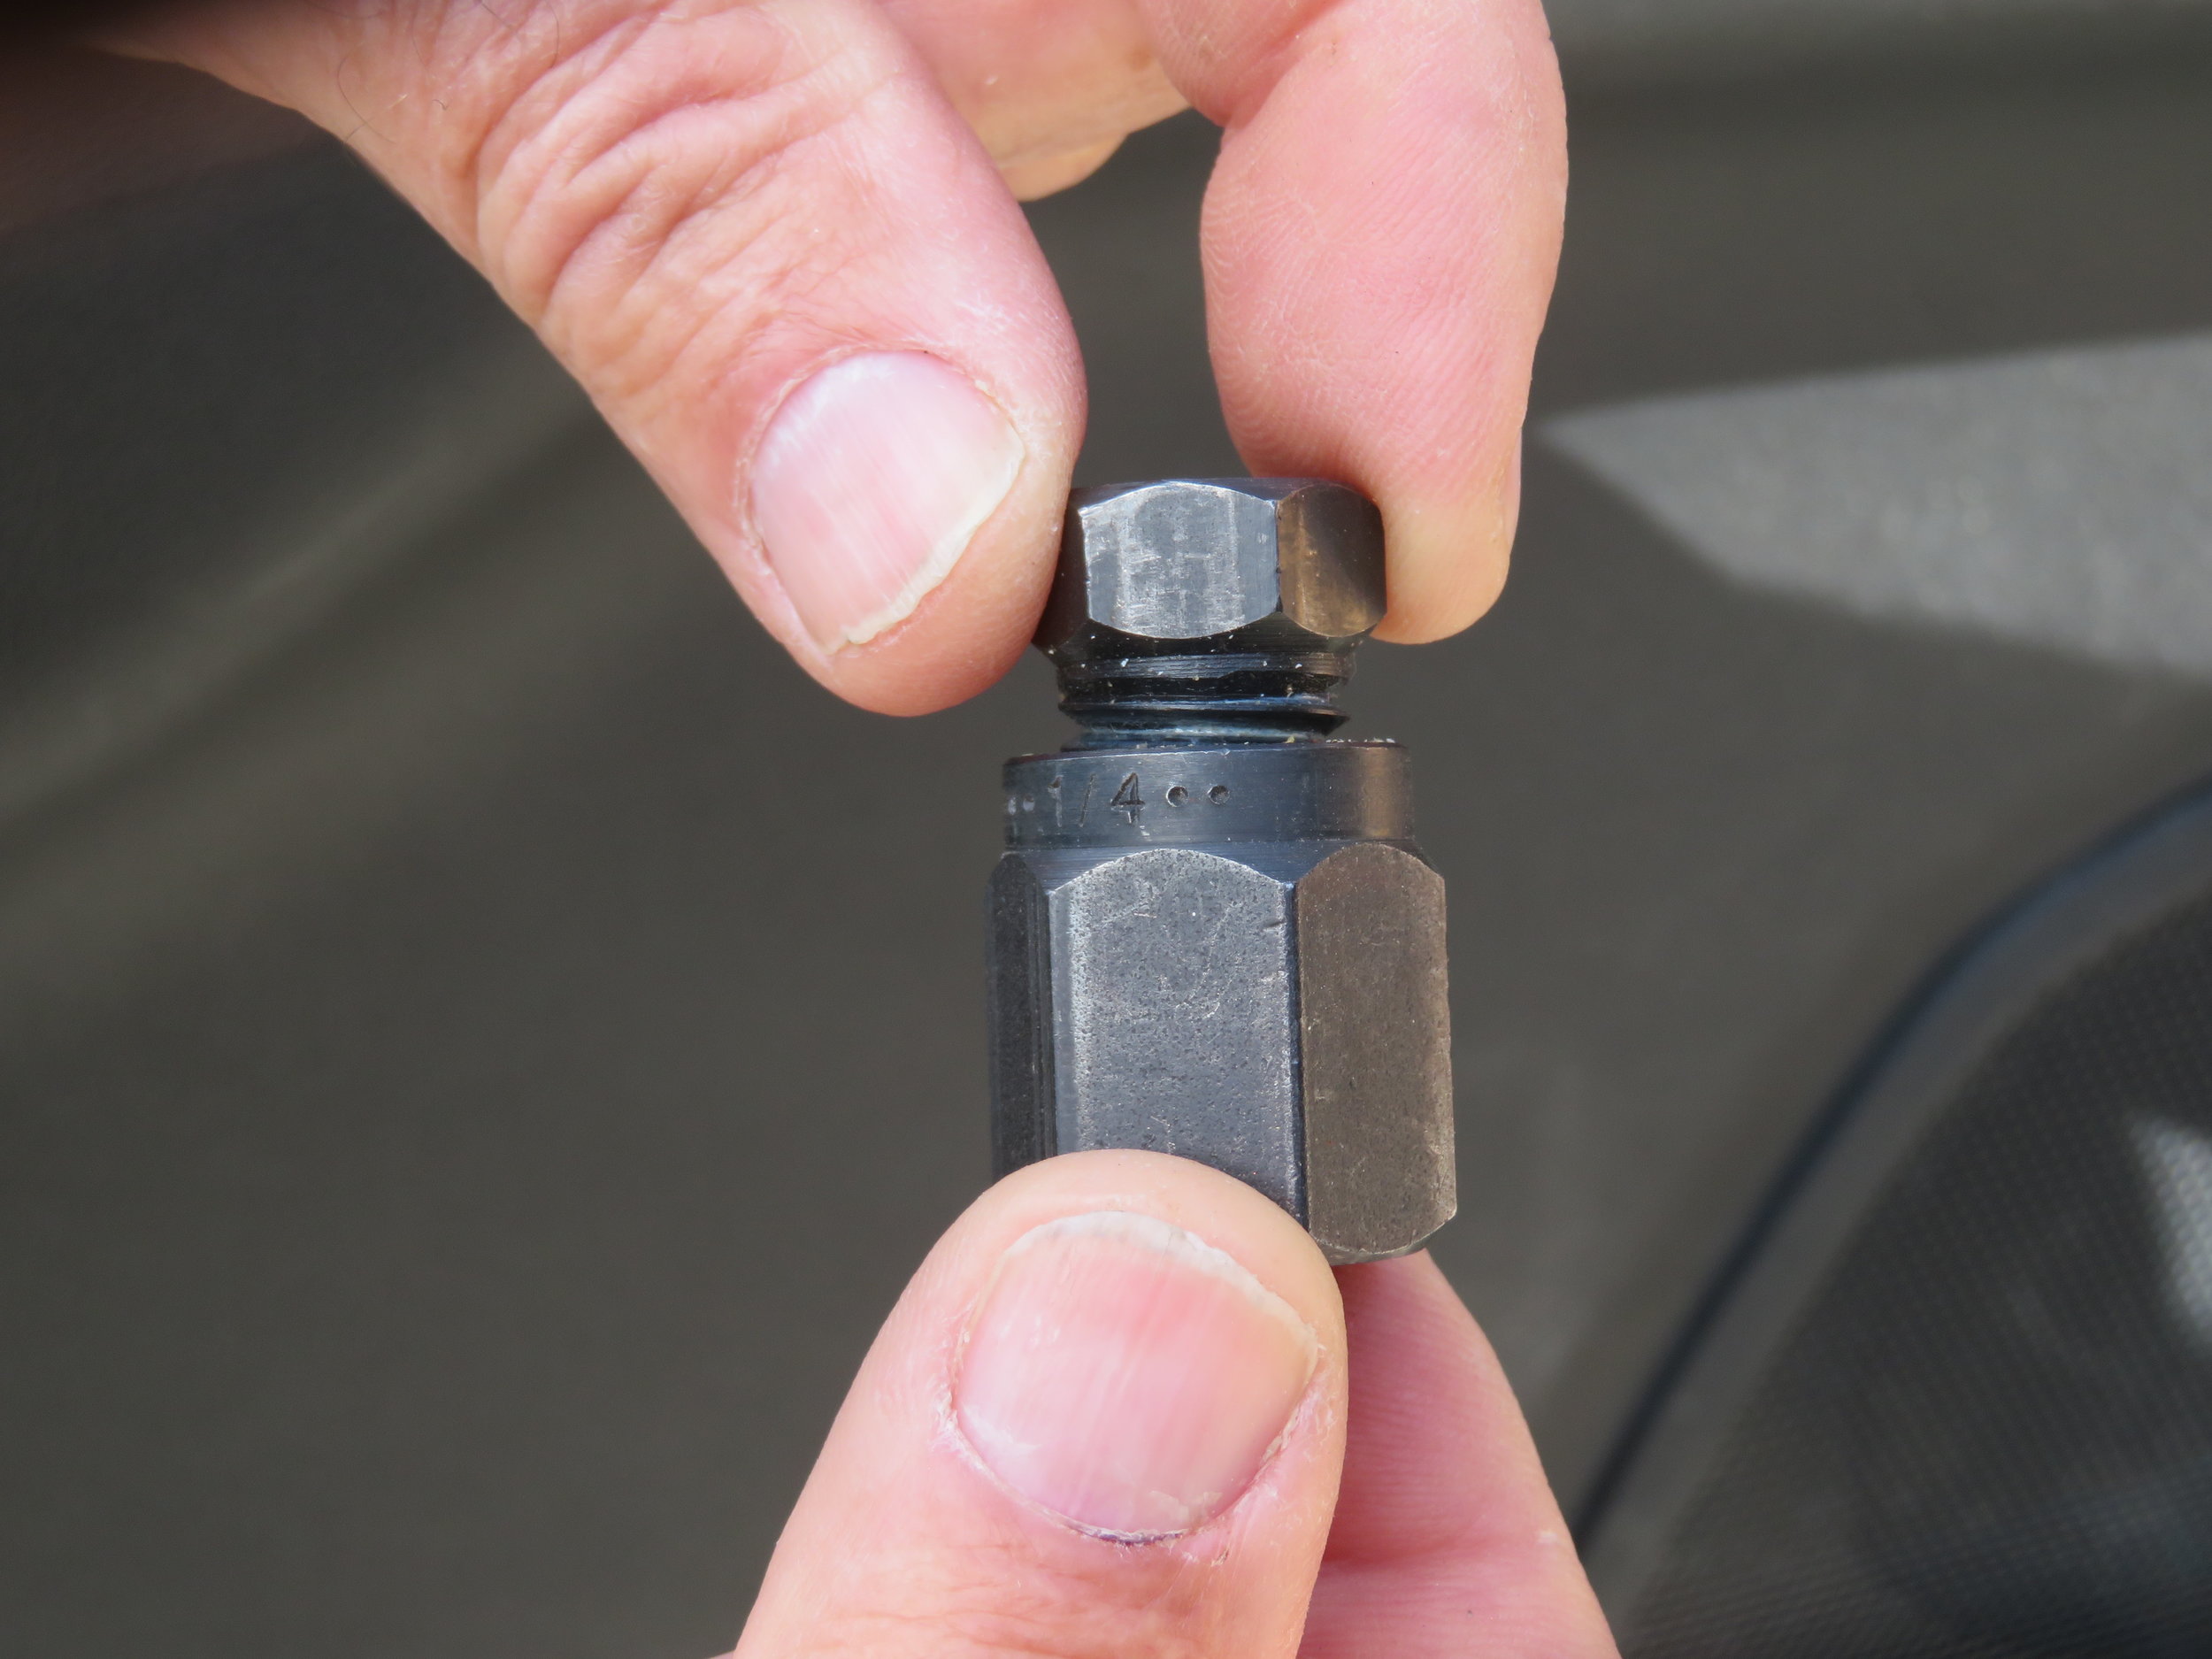
Wrench-Drive Rivet Nut Installation Tool. This tool, available from McMaster-Carr for about $30, comes in different sizes for different size bolts. For Blue, I use ¼ – 20 bolts, and the part number for this size tool is 96349A305
Box and/or open-end wrench, size 7/8”
Socket and ratchet, 11/16”. I use a 1/2” drive ratchet.
Optional: hammer drill with 1/2” drive socket for the 11/16” socket
Rivet nuts: For Blue, I use 1/4-20 pre-bulbed rivet nuts for a metal thickness of between 0.020” to 0.280”. I bought them from Rivets Online for $40/100 with free shipping. Their part number is RN2520280PNB
Here's how I install the rivet nuts:
Screw the top half of the tool into the bottom half. Note that they are reversed threaded.
Insert the cap screw into the tool in the orientation shown. Thread a rivet nut onto the cap screw and tighten until hand tight.
Insert the rivet nut into the hole. It sometimes requires a light tap to get it to seat fully in the hole.
Hold the large half of the tool with the 7/8” wrench, and use the 11/16” socket to turn the small half of the tool clockwise. It sometimes takes a little persuasion to get it started. Continue turning as far as possible. This is the critical part – if the rivet nut isn't fully compressed, it will turn in the hole when you thread a bolt into the nut and try to tighten it. Make sure you torque the socket as far as possible.
Remove the socket and, while holding the large half of the tool with the 7/8” wrench, use the Allen wrench to loosen the cap screw. Unscrew and remove the cap screw.
I usually screw the top half of the tool back into the bottom half, then insert the cap screw and thread another rivet nut onto it. This keeps all the parts of the tool together, making it ready for the next time it is needed.
I cut off the end of a short 3/8” drive extension, chucked it up in my Ryobi hammer drill, and then inserted a 11/16” socket onto it. I sometimes use this instead of the socket and ratchet, especially if I have several rivet nuts to install. The drill speeds the process up considerably, but it takes a little practice to get the nut tight without bending or deforming the sheet metal.
A couple of things to watch out for:
Make sure to get the nut tight. I didn't torque the rivet nuts tight enough on one of my first attempts, and the nut began to rotate in the hole when I tried to thread a bolt into it. It takes awhile to get the bolt back out when this happens.
Make sure to hold the 7/8” wrench securely when tightening the rivet nut. It's quite easy to deform or bend the sheet metal.


